
Amazon accepts three 2D barcode formats, PDF417, data matrix, and QR code, to encode box content information, and PDF417 is the format Amazon’s own documentation favors. Sellers use them to skip manual box-content entry in Seller Central, cut receiving errors, and manage boxes with expired-dated goods or several ASINs. If you ship FBA inventory regularly, Amazon’s Seller Central documentation lays out exactly what the barcode payload needs to contain.
TL;DR:
- Using PDF417 for Amazon FBA barcodes offers the fastest scan speed and unlimited payload size, making it ideal for complex box contents.
- Accurate barcode printing requires high-resolution, matte labels placed flat and away from creases or tears to ensure scanners can decode correctly.
- Generating barcodes via spreadsheet bulk processing minimizes errors such as mismatched fields, lowercases, or missing expiration dates, especially in high-volume shipments.
- Applying the barcode labels during final packing and testing scans with the Seller app before shipment reduces check-in delays and rework costs.
- Outsourcing barcode generation and validation to specialists like Usiprep can prevent errors and streamline fulfillment, especially for frequent multi-SKU shipments.
Table of Contents
- Which 2D barcode formats does Amazon accept for FBA?
- Why bother using 2D barcodes for FBA box contents?
- What data does the barcode actually need to contain?
- Getting the print specs right so labels actually scan
- How to generate Amazon 2D barcodes without a headache
- Applying and scanning 2D barcodes during shipping and receiving
- How Usiprep handles 2D-barcode compliance during FBA prep
- When should you DIY barcode generation versus hiring it out?
- Why Usiprep handles the barcode work so you don’t have to
- Sources
Which 2D barcode formats does Amazon accept for FBA?
Amazon’s guidance names three primary formats for box content information, with a clear pecking order based on scan speed and reliability.
- PDF417: the recommended format. No hard character limit, and it reads fastest on the high-speed scanners used at fulfillment centers.
- Data Matrix: compact and useful for smaller labels, but it holds less data than PDF417 before legibility suffers.
- QR Code: widely recognized and easy to generate, though less common in Amazon’s own fulfillment-center scanning setups.
Some seller SOPs also note that GS1-128 linear barcodes get accepted when generated to spec, but that’s a one-dimensional format, not a 2D one, so it carries different size and data limits.
For most sellers, the format choice comes down to payload size. If a box holds a long PO number, several item identifiers, and an expiration date, PDF417’s lack of a character ceiling makes it the safer default. Data matrix works fine for simpler, single-SKU boxes where label space is tight.
Why bother using 2D barcodes for FBA box contents?
Manually typing box contents into Seller Central for every carton in a large shipment eats time and invites typos. A 2D barcode replaces that step entirely: scan the code, and the box contents populate automatically.
- Speed: skip the manual box-content entry screen in Seller Central for barcoded cartons.
- Accuracy: fewer receiving and routing errors at the fulfillment center, since the payload gets read directly rather than keyed in by hand.
- Better handling of complex boxes: expiration-dated items and boxes containing multiple ASINs are far easier to track correctly with an encoded payload than a manual entry.
- Amazon sometimes flags it: certain shipment plans in Seller Central prompt sellers to use 2D barcodes directly, particularly for boxes with mixed contents.
None of this is mandatory for every shipment. But once you’re sending more than a handful of cartons a week, the time saved on data entry alone tends to justify setting up the workflow.
What data does the barcode actually need to contain?
Amazon’s payload format is specific, and getting a field wrong is the most common reason a printed label fails to scan correctly at check-in. The core structure runs like this:
- AMZN prefix: every payload starts with this identifier so Amazon’s systems recognize the code as FBA-related.
- PO or FBA shipment ID: ties the box back to the specific shipment plan in Seller Central.
- Item identifier: an ASIN, UPC, EAN, or FNSKU for each product in the box. FNSKUs differ from UPCs in that Amazon assigns them specifically to track inventory inside its own fulfillment network, which Avery’s barcode breakdown explains in more detail.
- Quantity: the unit count for that item, per box. Zero-quantity ASINs get excluded from the payload entirely.
- Expiration date: formatted as YYMMDD when the box contains dated goods.
One packing rule trips up more sellers than the field formatting itself: don’t mix multiple expiration dates for the same ASIN inside one box, and keep the ASIN count in a single box under roughly 100. The payload also needs to be encoded in uppercase.
Getting the print specs right so labels actually scan
A barcode that decodes fine on your screen can still fail at the fulfillment center if the print quality doesn’t hold up. Module size, resolution, and contrast all matter more than most sellers expect.
Stick to matte label stock rather than glossy. Glossy finishes create glare under warehouse scanner lights, which is a surprisingly common cause of failed reads that has nothing to do with the barcode data itself.
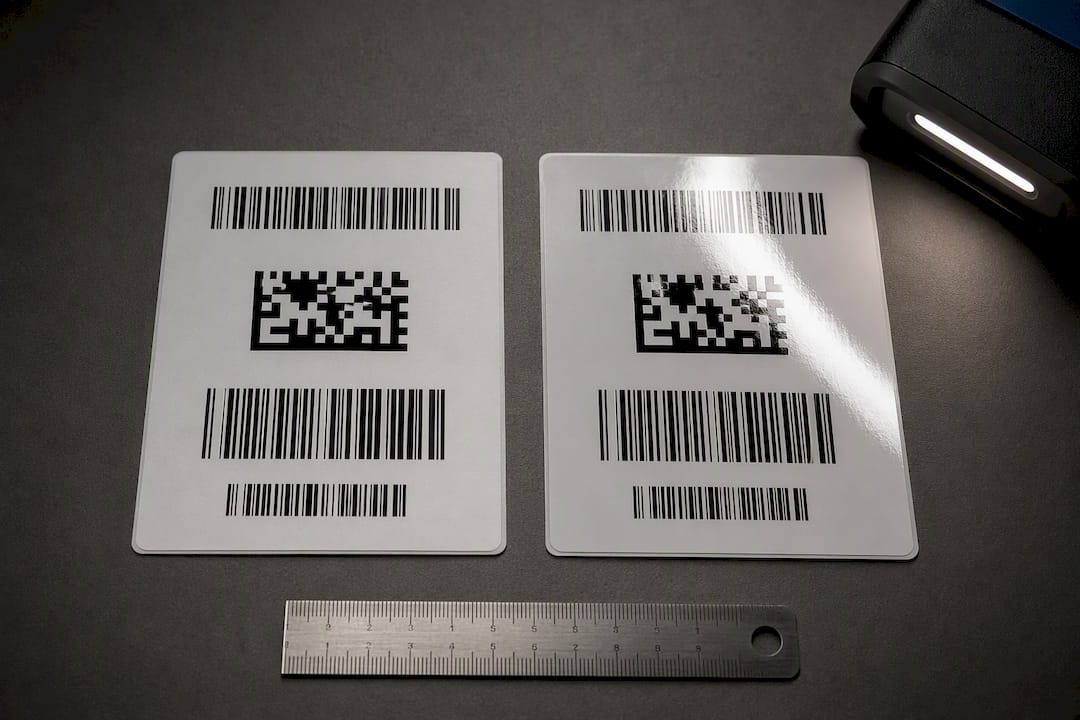
Pro Tip: Print one label, apply it to an actual box, and scan it with a phone scanning app before running a full batch. A five-second test catches resolution and placement problems that a screen preview never will.
Also watch label placement relative to box tape and shipping labels. A 2D code positioned near a seam can get creased or torn during transit, and a torn module row is often enough to break the whole scan.
How to generate Amazon 2D barcodes without a headache
For a single box or a short run, an online generator does the job. Tools like LabelResizer let you enter the AMZN prefix, PO ID, item identifier, quantity, and expiration date directly, then output a print-ready label.
For bulk shipments, spreadsheet-driven generation saves real time:
- Build a CSV with columns for PO ID, item identifier, quantity, and expiration date.
- Import the CSV into a barcode generator that supports batch processing.
- Export the result as a print-ready PDF, one label per box.
- Print through label software or send the file to a print provider if you’re running hundreds of cartons.
Sellers moving high volume often outsource the print run entirely rather than managing a desktop label printer that jams or runs low on ribbon mid-batch. The most common generation errors are mismatched field order, lowercase characters where uppercase is required, and missing expiration dates on boxes that actually contain dated goods, all of which cause a clean-looking barcode to fail decoding.
Applying and scanning 2D barcodes during shipping and receiving
Getting the label onto the box correctly matters as much as generating it correctly.
- Print and apply during final packing, after you’ve confirmed box contents and before sealing, so the label reflects what’s actually inside.
- Place the label flat, away from corners, tape lines, and box flaps, where scanners get the cleanest read.
- Let Amazon’s system decode the payload at check-in. If the code reads properly, box contents auto-populate in Seller Central with no manual entry needed.
- Watch for common failure points: low contrast, torn or creased modules, and labels applied at an angle all cause rejected scans.
- Run a test scan before shipping. The Amazon Seller app can scan a printed label just like a warehouse scanner would, which catches problems before the box ever leaves your dock.
Pro Tip: Scan every label with the Seller app the same day you print them, not the day you ship. Catching a bad batch early means reprinting a handful of labels instead of pulling open sealed boxes later.
How Usiprep handles 2D-barcode compliance during FBA prep
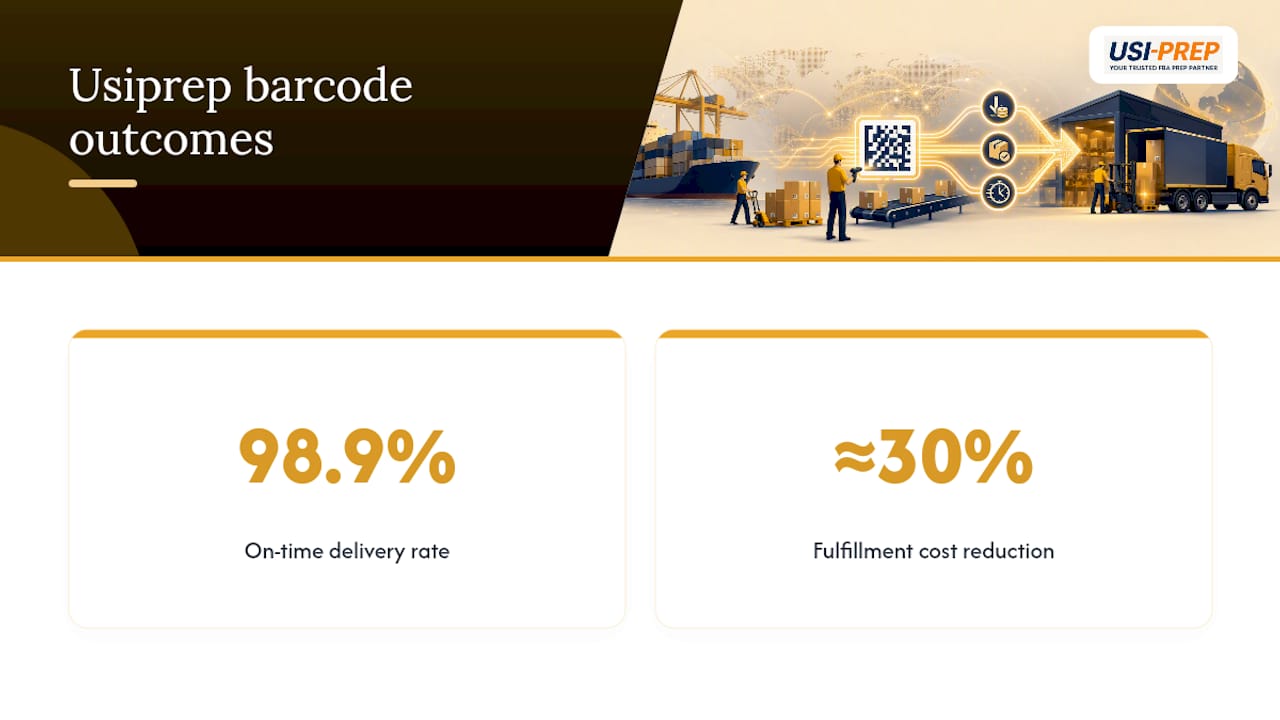
Usiprep validates every barcode payload against the shipment manifest before a single box gets sealed, then test-scans a sample from each batch. That validation step is part of why Usiprep maintains a 98.9% on-time delivery rate and has helped many brands cut fulfillment costs by roughly 30%. For sellers running frequent multi-ASIN shipments, that check catches formatting errors long before they turn into a rejected check-in at an Amazon fulfillment center.
When should you DIY barcode generation versus hiring it out?
DIY generation works fine for low-volume sellers or one-off shipments; a spreadsheet template covers most needs once you’ve done it a couple of times. Growth changes the math. Watch for three red flags: repeated check-in delays, reprints eating into margin, or a team spending hours a week on label formatting instead of sourcing or sales. When any of those show up, the cost of outsourcing barcode generation and prep usually runs lower than the cost of the errors it prevents.
— Akbar
Why Usiprep handles the barcode work so you don’t have to
Generating a compliant payload is one thing. Printing it at the right resolution, applying it correctly, and catching a bad batch before it reaches Amazon is a different job entirely, and it’s the one that actually causes check-in delays. Usiprep validates barcode payloads against your shipment manifest and test-scans labels during intake, so a formatting mistake gets caught in your prep facility instead of at an Amazon fulfillment center three days later.
If barcode compliance is one more thing on a growing list of FBA prep headaches, start with the FBA Prep Requirements Checklist and see what Usiprep can take off your plate.
Sources
- Send to Amazon: 2D barcodes for box content information
- Amazon 2D Barcode Requirements: Streamlining Fulfillment with Barcode Standards – LabelResizer
- FNSKU vs UPC: what barcodes do you need for Amazon? – Avery
- How to use the Amazon Seller app to scan UPCs and other barcodes – Sell on Amazon